phpMyAdmin is an open source tool used for the administration of MySQL. In addition to offering the capability to perform administration tasks such as creating, editing, or deleting databases, and managing users and permissions, phpMyAdmin provides a graphical user interface to do all of these tasks and more.
Installing phpMyAdmin
Step 1: Install phpMyAdmin
First, you’ll follow a simple best practice: ensuring the list of available packages is up to date before installing anything new.
sudo apt-get updateThen it’s a matter of just running one command for installation via apt-get:
sudo apt-get install phpmyadminStep 2: Basic Configuration
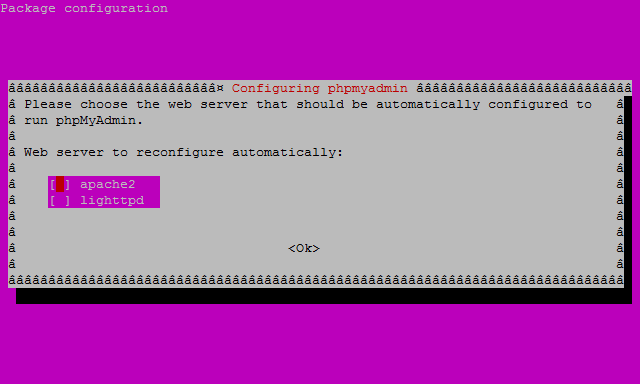
As the installation runs you’ll be asked a few simple questions regarding the basic configuration of phpMyAdmin.
At the first screen, select apache2 by using the spacebar, then hit enter to continue.
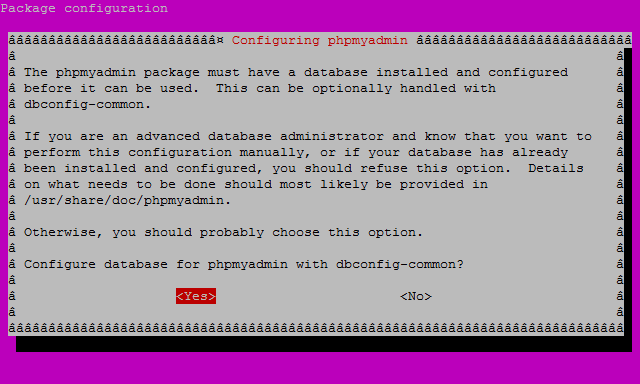
At the second screen, which asks “configure the database for phpMyAdmin with dbconfig-common?”, select Yes, then hit enter to continue.
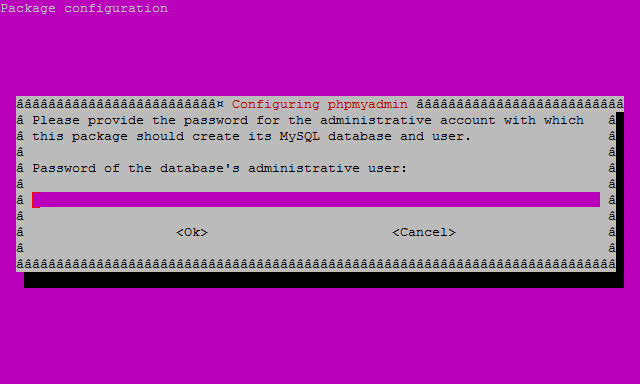
In this third screen enter your administrative password this is also the MySQL root (admin) user password, hit enter to continue.
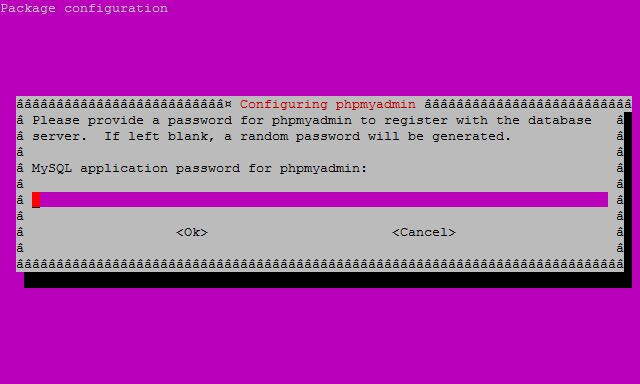
Finally, at the fourth screen set the password you’ll use to log into phpMyAdmin, hit enter to continue, and confirm your password.
Step 3: Finish the Configuration of Apache
vim /etc/apache2/apache2.confAdd the following to the bottom of the file:
# phpMyAdmin Configuration
Include /etc/phpmyadmin/apache.conf
Then exit and save the file with the command :wq.
Restart Apache 2 with the following command:
sudo service apache2 restartVerify that phpMyAdmin is working by visiting the_IP_of_your_server/phpmyadmin. For example: http://127.0.0.1/phpmyadmin
Note :
By default, the username is phpMyAdmin and the password will be the one set in the very last screen of Step 2.
Hope you find this blog post helpful.
Feel free to add comments and queries, that helps us to improve the quality of posts.
You can contact us at [email protected]
Thank you.